Tops Friendly Markets Recipes
https://tops.ads.webstophq.com/Recipes/Detail/1618/Eyeball_Cookie_Balls

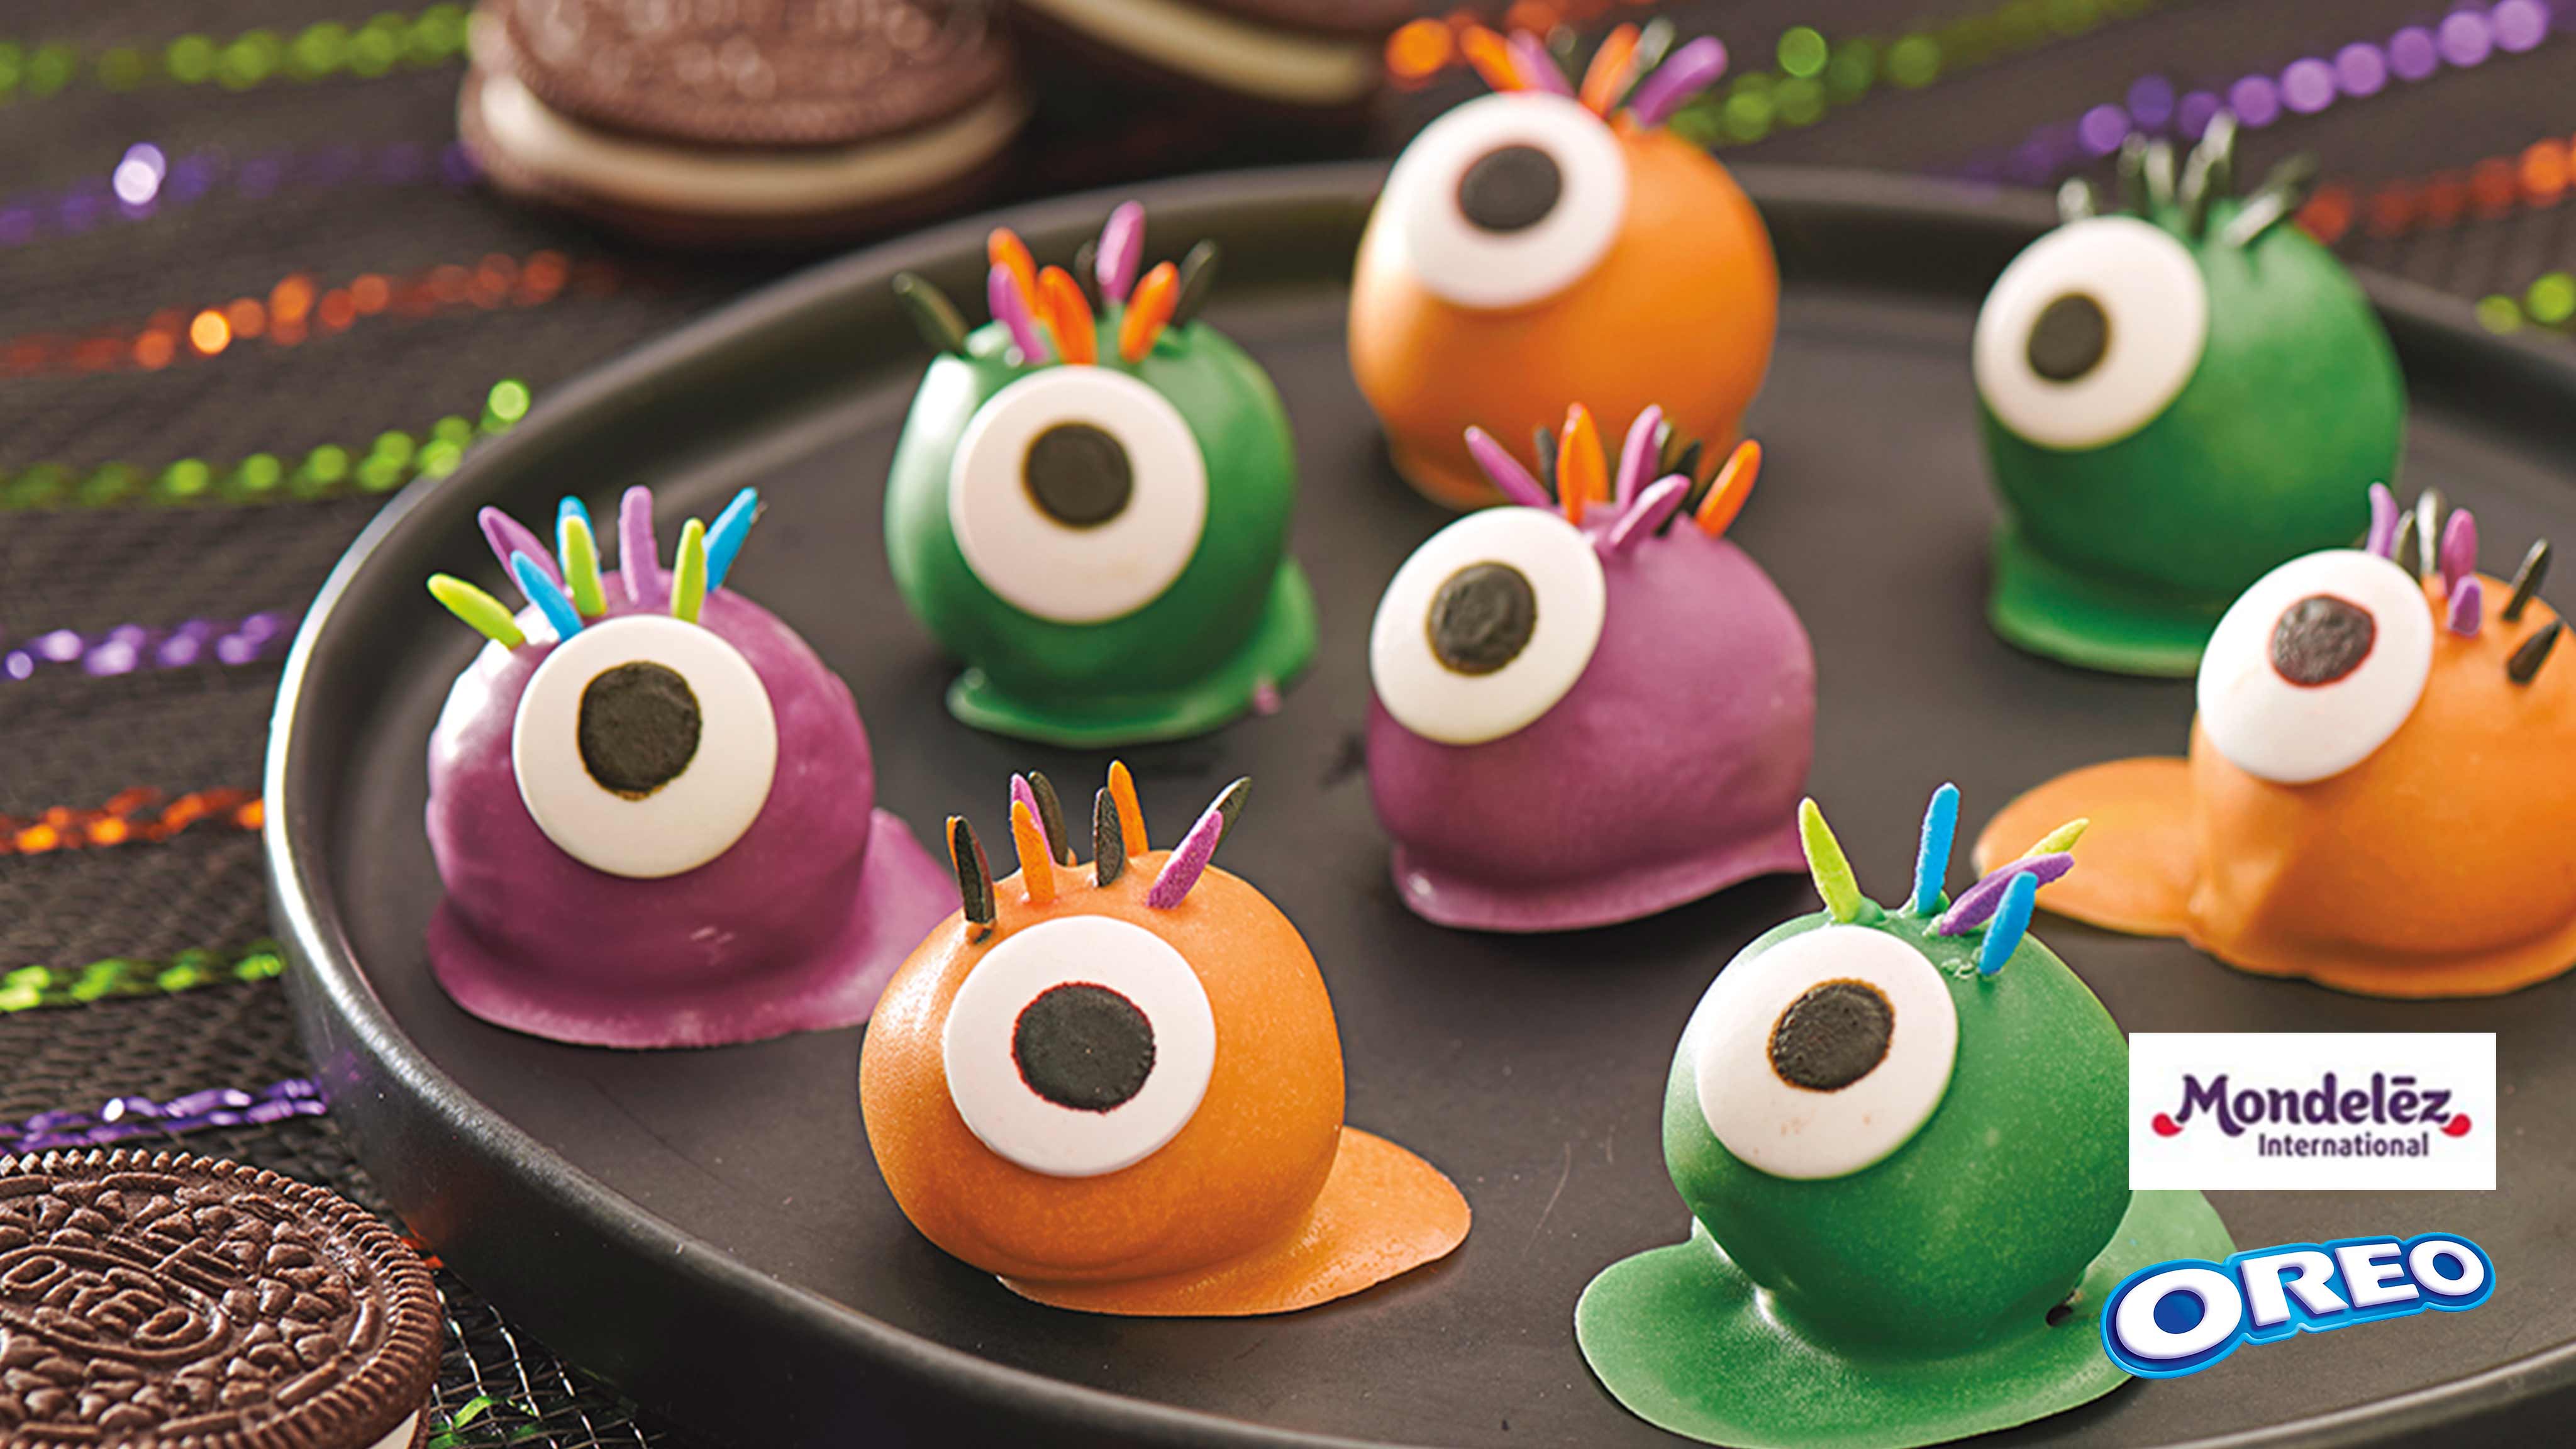
Eyeball Cookie Balls
Yield: 48 (1-inch) balls
Preparation Time: and Total Time: 1 hr; 40 min
Ingredients
| 1 | package | (8 ounce) brick cream cheese, softened | |
|
|
|||
| 36 | OREO Cookies, finely crushed | ||
|
|
|||
| 12 | ounces | purple candy coating wafers | |
|
|
|||
| 1 | tablespoon | oil | |
|
|
|||
| 2 | packages | (1 ounce each) large candy button eyes | |
|
|
|||
| Decorations: | |||
| assorted sprinkles | |||
|
|
|||
| nonpareils | |||
|
|
|||
| decorating gels | |||
|
|
|||
| icing | |||
|
|
|||
Nutrition Facts
Yield: 48 (1-inch) balls
Approximate Nutrient Content per serving:
| Calories: | 110 | |
| Calories From Fat: | 54 | |
| Total Fat: | 6g | |
| Saturated Fat: | 3.5g | |
| Cholesterol: | 5mg | |
| Sodium: | 65mg | |
| Total Carbohydrates: | 13g | |
| Dietary Fiber: | 0g | |
| Sugars: | 10g | |
| Protein: | 1g |
Please Note: Nutritional values listed may vary from final results depending on actual measurements, products and brands used to prepare the recipe.
Directions:
Mix cream cheese and cookie crumbs until blended; shape into 48 (1-inch) balls. Place on waxed paper-covered rimmed baking sheet. Refrigerate 20 min.
Melt candy coating wafers as directed on package; stir in oil. Dip balls, 1 at a time, in candy coating, turning to evenly coat all sides of each ball. Return to baking sheet.
Add 1 candy button eye to each ball, then add other decorations as desired.
Refrigerate 1 hour or until firm. Keep refrigerated.
TIPS & TRICKS:
Substitute:
Prepare using different colors of candy coating wafers, such as green or orange.
How to Store:
Store in tightly covered container in refrigerator.
How to Easily
Dip the Cookie Balls: Keep the cookie balls refrigerated until ready to dip in the melted candy coating. Then, add the balls, in batches, to bowl of melted coating. Use 2 forks to roll balls in coating until evenly coated. Remove balls with forks, letting excess coating drip back into bowl. Place balls in prepared pan; let stand until firm.
Please note that some ingredients and brands may not be available in every store.
Tops Friendly Markets Recipes
https://tops.ads.webstophq.com/Recipes/Detail/1618/
Be the first to comment on this recipe!
Add a Comment Login